
Epoxy installation might seem daunting, but if you follow our step-by-step process, it will be a breeze! In this blog post, we will outline each step of the process so that you can be confident in your ability to install epoxy flooring Austin.
We’ll also provide some tips and tricks to make the process go as smoothly as possible. So, what are you waiting for? Let’s get started!
There are six essential steps in making epoxy floors. Here is a detailed approach to how hardcore experts do the job.
- Surface Preparation
- Make Sure That The Surface is Flat
- Apply an Etching Solution
- Fill & Repair Cracks
- Apply First Coating Of Epoxy
- Apply Second Coating Of Epoxy
Epoxy Installation 101: The Hardcore Steps to Follow
Surface Preparation
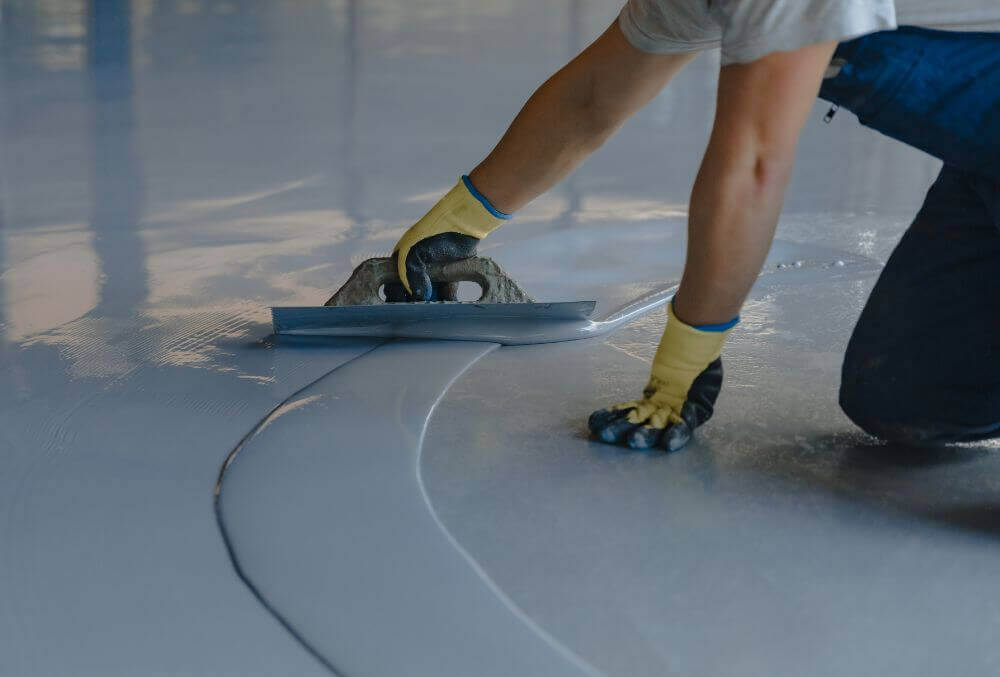
The first is to make sure that the surface is flat. This can be done by using a self-leveling compound or a grinding machine. If you use a self-leveling epoxy mixture, you will need to apply it with a trowel and then use a putty knife to smooth it out.
When using a grinding machine, you must ensure that the surface is completely dry before you start.
Apply an Etching Solution
After preparing the surface, the second step is to apply an etching solution. You need to rough up the surface so the epoxy can adhere properly. You can use a brush or a roller to apply the etching solution.
Fill & Repair Cracks
The next step is to fill and repair any cracks that you may have on your surface. You can use a crack filler or epoxy resin for this. Once you have filled the damages, you will need to sand them down, so they are flush with the rest of the surface.
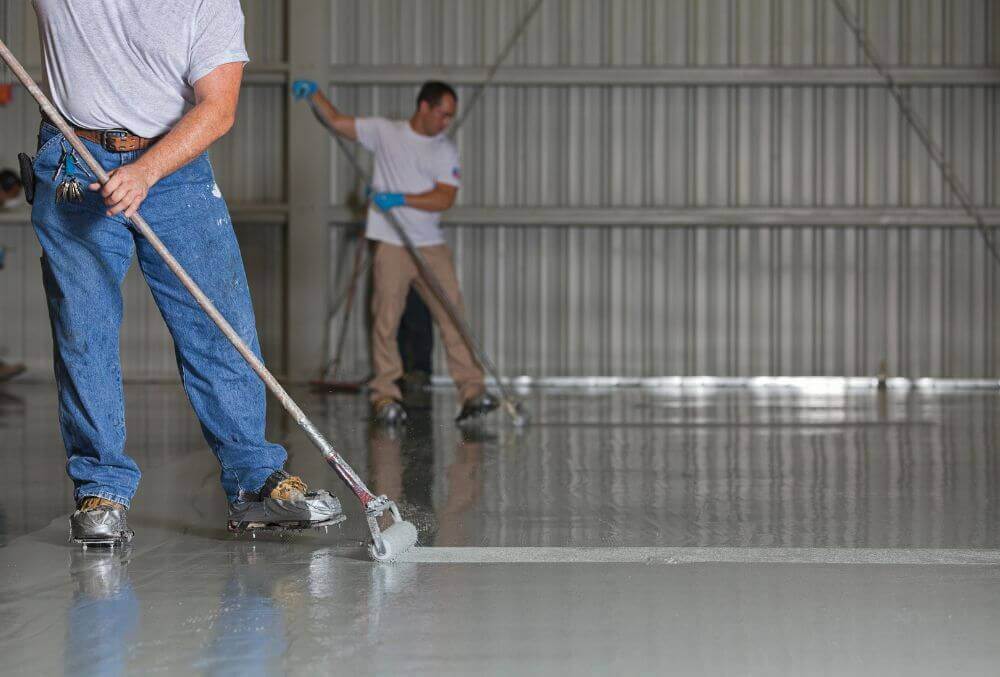
Apply First Coating Of Epoxy
The next step is to apply the first coating of epoxy. This can be done with a roller or a brush. You will need to ensure that you are using the epoxy evenly and that you are not missing any spots. Once you have the first coat on it, you will need to let it dry for the time specified on the product label.
Apply Second Coating Of Epoxy
The final step is to apply a second coating of epoxy. Do this in the same way as the first coat.
And that’s it! You have now successfully installed your epoxy flooring. We hope that this blog post has been helpful and that you feel confident in your ability to install epoxy flooring. If you have any questions, please don’t hesitate to contact Austin Epoxy Flooring. We would be more than happy to help!

Epoxy Installation Tips:
- Make sure to read the product label before beginning installation. This will ensure that you know all the necessary steps and understand the drying times for each coat.
- If you are not confident in your ability to install epoxy flooring, we recommend hiring a professional. They will be able to do it for you quickly and efficiently.
- Epoxy flooring is a great way to protect your floors from wear and tear, and it is also easy to clean.
Wrapping Up
We hope this blog post has helped outline the steps of epoxy installation. Always ask for an expert’s guidance, especially for hardcore tasks such as installing epoxy floors.